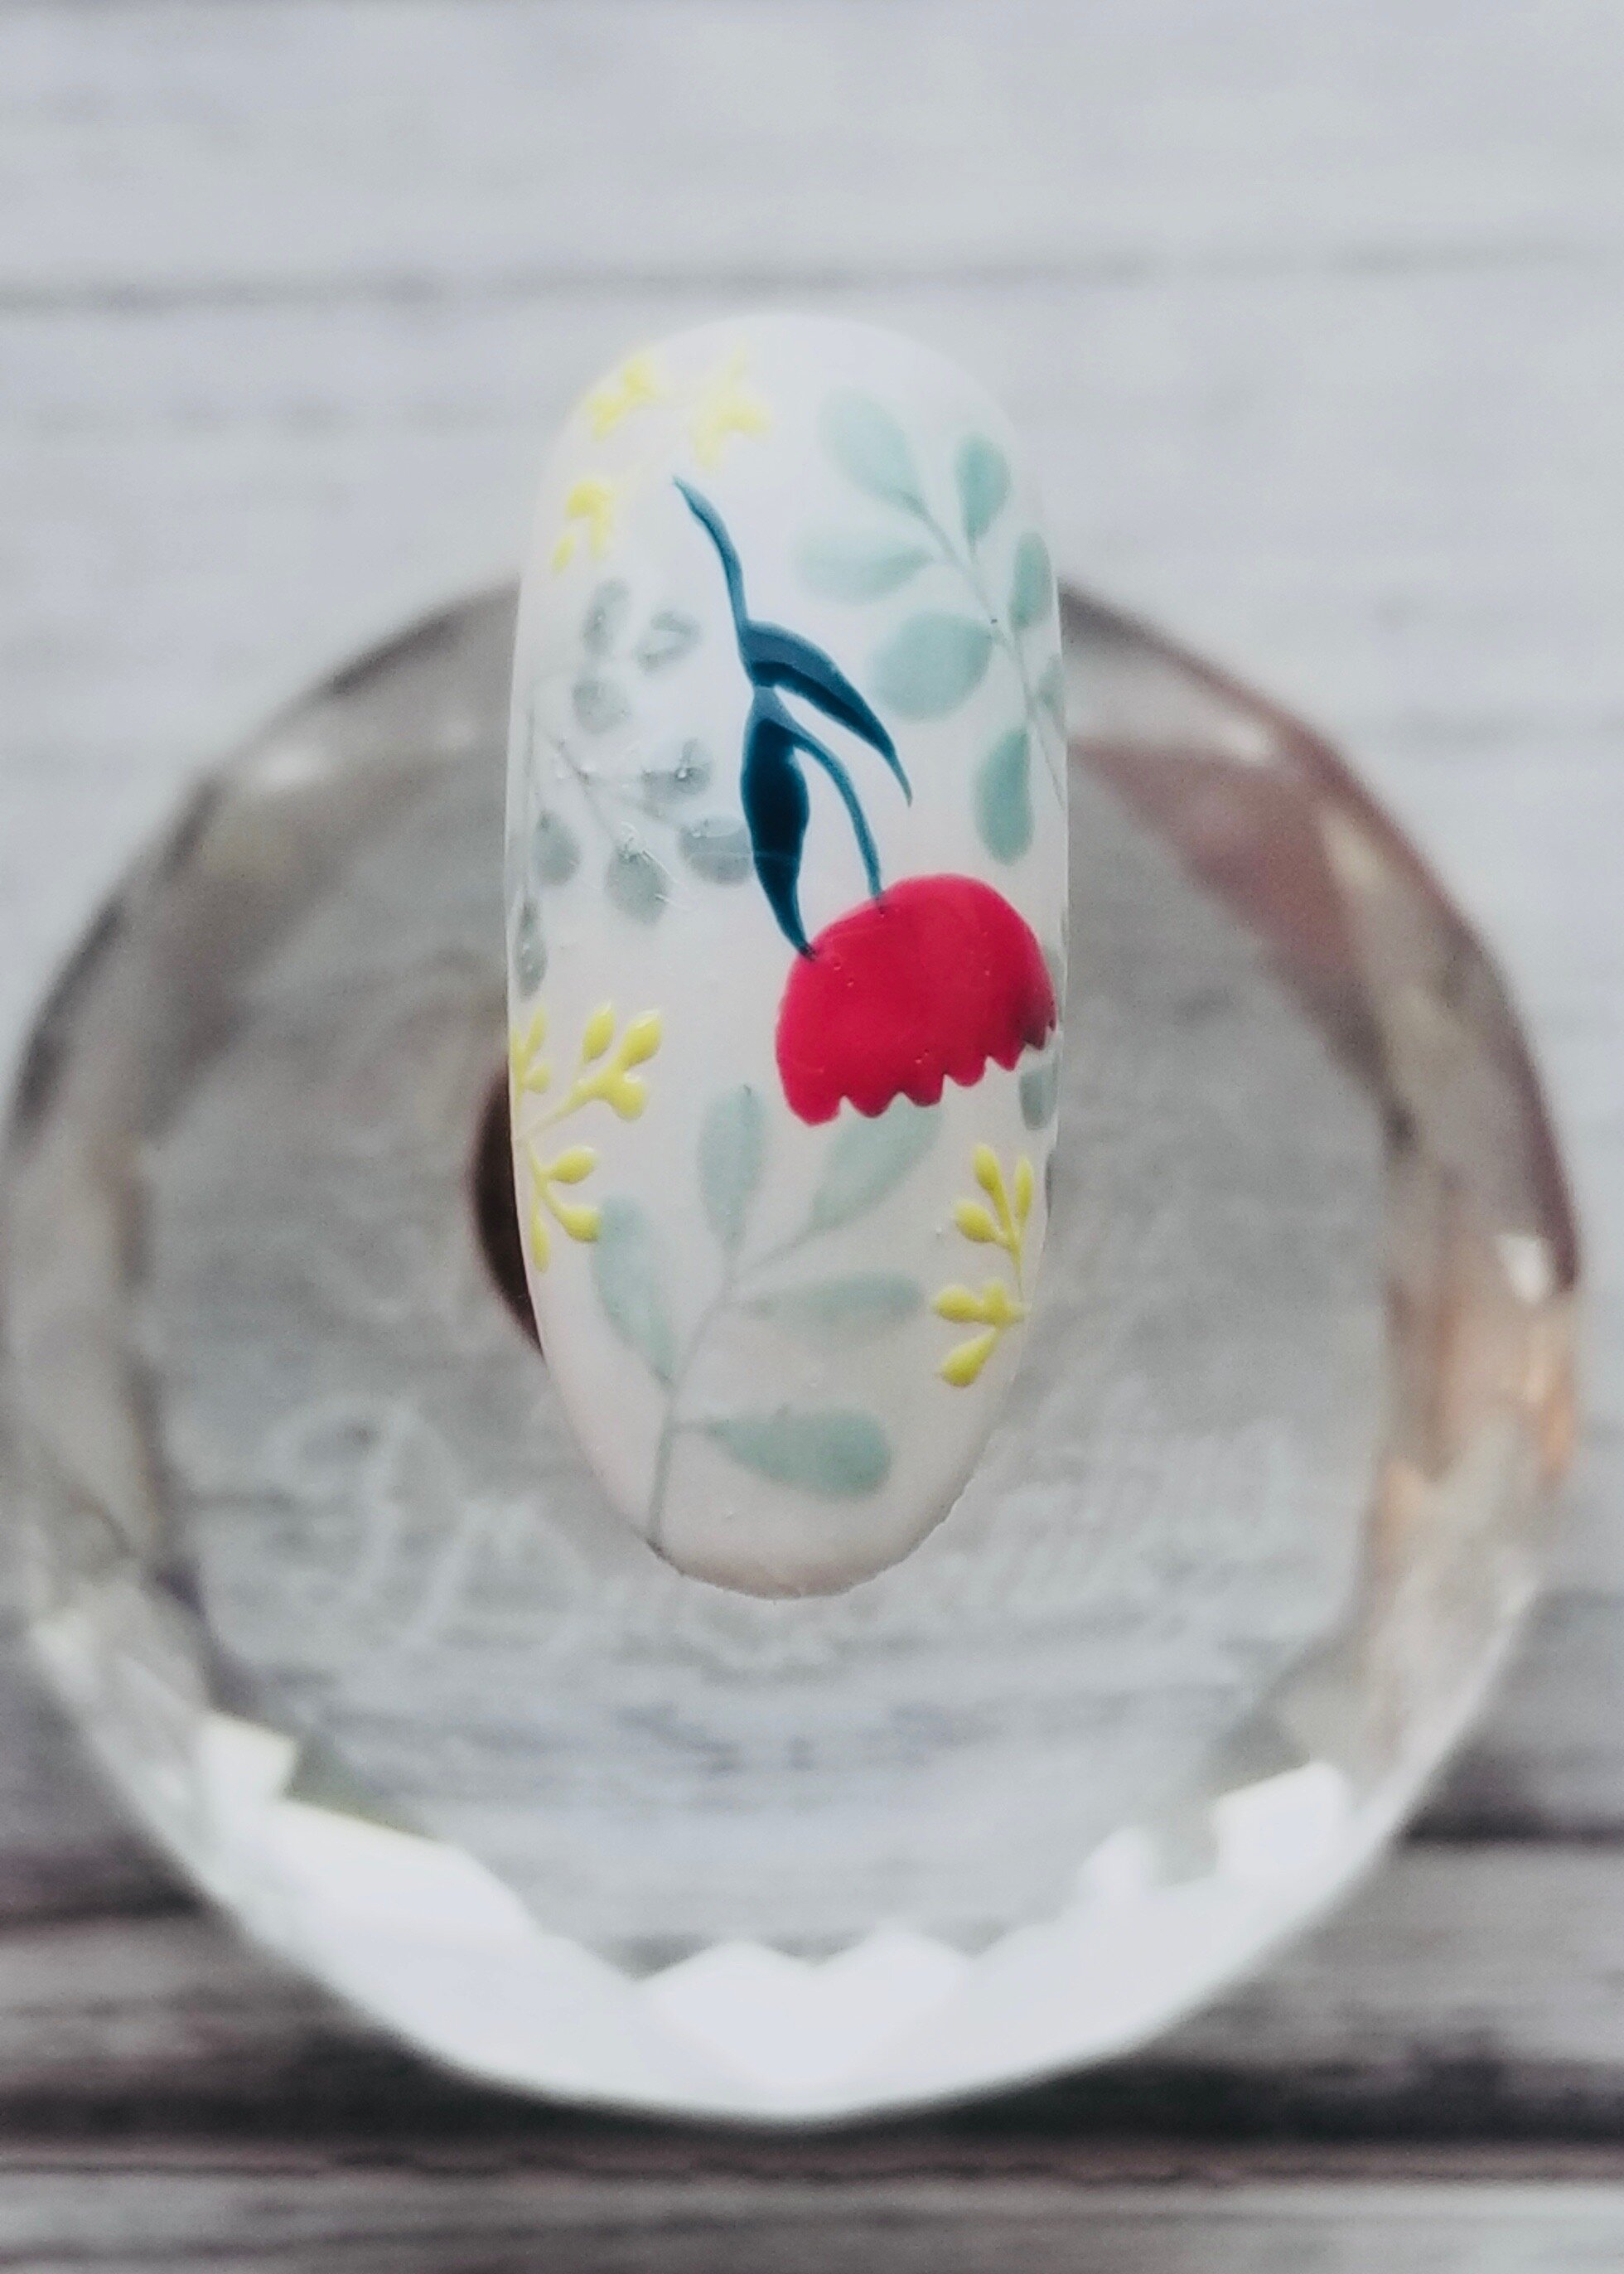
This nail art design will make you feel like spring has sprung! Follow this step-by-step tutorial using Ugly Duckling nail products to create a light and delicate floral look sure to give your nails a fresh and fancy feeling!
Ugly Duckling Products Used:
Gel polish #’s 004, 011, 059, 111 and 126Base/topcoat
Detailer and detailer II brushes
Matte topcoat
Gel cleanse
Crystal tip display
Apply one coat of white gel polish #004 and cure.
Use gel polishes #059 and #121 and mix with #011. Paint on each section of the background greenery by starting with one dot of colour at the top and working down, adding two dots of colour; one on each side.
Finish each section of greenery by connecting their leaves with stems. To do this, draw long skinny lines joining the top dot of each section to the bottom, staying in between the other dots. Next, draw even smaller lines coming from each remaining dot to the main line in the middle, then cure.
Create a mixture of white gel polish and base/topcoat to make a milky, but still translucent, shade of white. Brush this over your greenery and cure. This adds dimension to your design, giving it the effect that the greenery is in the background.
With a detailer brush and gel polish #004, paint smaller yellow plant designs in between your existing greenery using the same dot and line method as before. Then, for the focal point of the nail, use gel polish #111 to draw a flower stem coming down from the top of the nail with long thick leaves on both sides.
Use gel polish #126 to begin your focal point flower. Draw a half circle with its flat side facing the bottom of the nail and its curved side joining with the flower stem. Before curing, take your detailer brush and add dots of polish in a row to the flat side of the circle. Make sure to leave a little room in between each dot for definition. Cure.
Paint details on your flower with white gel polish, embellishing on both the dotted and stem side.
Using gel polish #126 again, paint on additional bunches of greenery in the remaining open spaces. If desired, paint on partial flowers around the edges of the nail, to balance out your design.
Note: For a design like this, balancing the elements out will prevent the nail from looking too crowded, heavy or sparse in areas.
Seal your design with a matte or shiny topcoat- it looks great with either! Once you’ve cleansed the dispersion layer, your nail is complete!